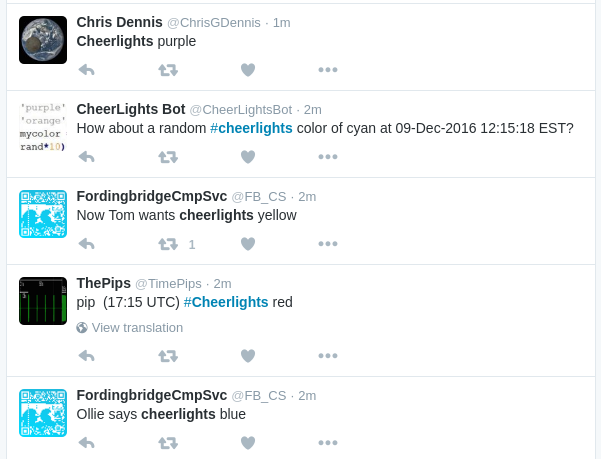
CheerLights is an “Internet of Things” project created by Hans Scharler where people volunteer to synchronise their lights all across the world to one colour. In a truly democratic fashion, the colour changes by anyone sending a tweet with a colour
- #cheerlights.

Check out twitter to see it live: #cheerlights.
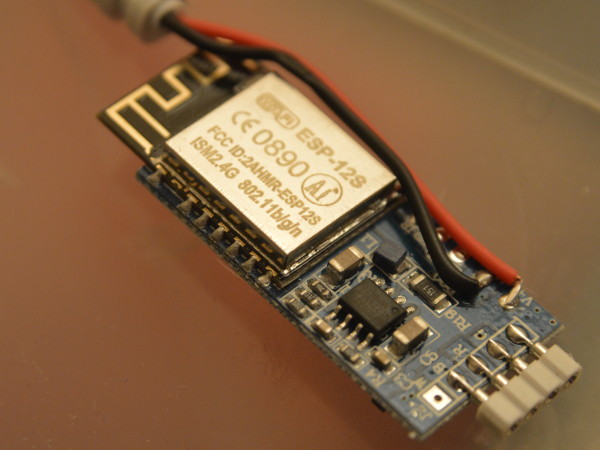
I wanted to do something with the cheap esp8266 controllers you can get to control 3528 LED strips - it’s a ready built package with the voltage converter, ESP-12S processor and the MOSFETs necessary to switch 12V on the LED strips from the ESP 3.3v pins.
Parts list
- Wifi LED controller
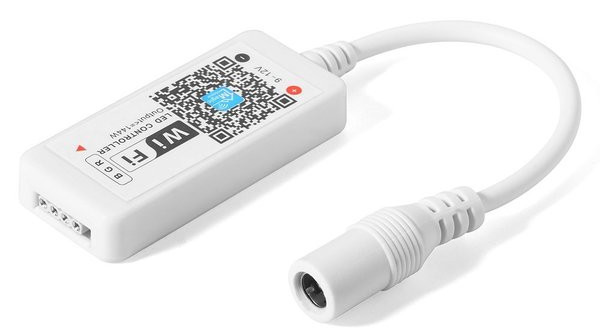
It goes by a few names, but they’re all the same ESP8266 and electronics inside - look for the small white box with a QR code on it. Available from ebay / Amazon / banggood for between £5-£9 depending on how patient you are.
- Magic Color Wifi LED Controller on ebay.co.uk
- XCSOURCE Mini Wifi RGBW LED Strip Controller on Amazon.co.uk
- ARILUX™ AL-LC01 Super Mini LED WIFI Smart Controller on banggood
- USB UART dongle
The CH340G (FT232RL or PL2303 based will also do), to flash the new firmware.
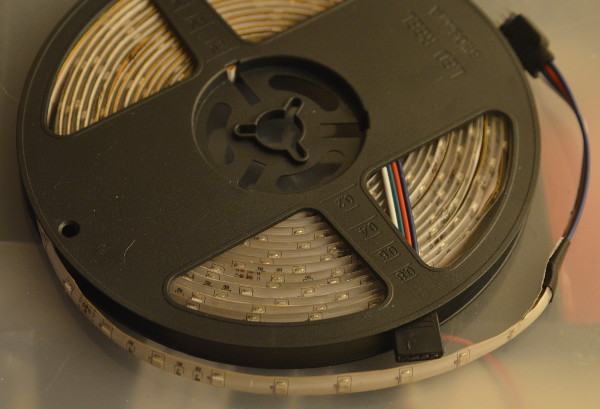
- 3528 LED strip
A strip of 3528 LEDs (these are 5m strips of R-G-B chains with 4 pin connectors).
- 12V supply
A 12V supply (usually this comes with the LED strips). Needs to have enough umph to power the strips (at least 1A).
Flashing
Thanks to [Sean](https://www.muzik.ca/2016/11/30/hacked-esp8266-rgb-led- controller/) for a detailed post on the nitty gritty of flashing. It’s a very similar process to my other [post](/2016/10/30/flashing-custom-firmware-to-a -sonoff-th10/16/) on custom firmware flashing.
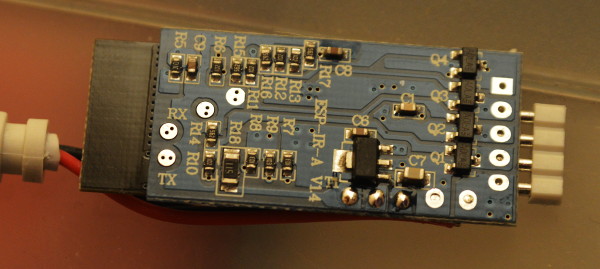
I went with holding wires onto the pads on the back of the Wifi Controller, then powering it on and flashing. It’s really quite fiddley (2 hands not enough!), so if you haven’t the patience to do it this way, best just solder on some wires onto the pads.
Listening to the twitter feed
Handily there’s a public MQTT feed of the cheerlights colours as RGB codes on iot.eclipse.org which saves us connecting to the twitter API or doing any parsing. MQTT is a simple publish/subscribe protocol for messaging that you can easily get the ESP connecting to.
If you install the mosquitto command line tools you can listen in by running:
mosquitto_sub -h iot.eclipse.org -t cheerlightsRGB
It looks something like this:
#ff0000
#800080
#0000ff
The source code for the sketch is on github.com/barnybug/cheerlights-esp8266-arduino.
The sketch subscribes to this topic, then on receiving a message sets (analogWrite) the 3
output pins to the correct levels to modulate the RGB strip colours.
There’s a bit of extra code to allow OTA (over-the-air) updates, which saves
going through the tricky flashing process again if you’re updating the
firmware. After booting with the custom firmware once, the device will show up
on the Arduino IDE Ports->Network ports as cheerlights-xxxxxx and can be
flashed from there.
Next up: do some flashier animation of the lights!